Preparing
Before you use Mad Compile Time Optimizer please make sure to backup your project. In order to do that, simply close your Unity editor if it is still open and then copy your project directory somewhere else on your hard drive.
If your project is safe, import Mad Compile Time Optimizer into your project using Window → Asset Store window or by unpacking provided unity package.
What should be optimized and what shouldn’t?
Please remember that you should optimize only 3rd party assets. This means that you should optimize only assets that you’ve downloaded from the Asset Store (or assets that you’re not modifying very often). Do not optimize scripts that you’re working on because if you do, compilation times won’t be reduced.
Optimizing
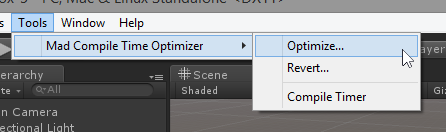
To optimize your workspace, select Tools → Mad Compile Time Optimizer → Optimize option from the main menu.
The window will appear.
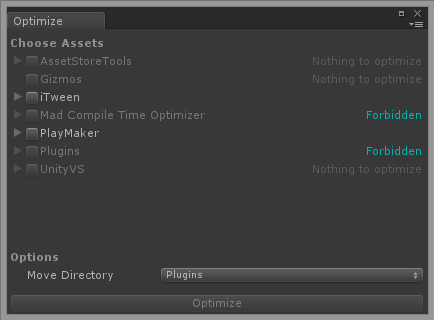
This window is the optimization window. In here you can choose what assets should be optimized in order to improve your compile times. This needs further explanation.

These (1) are folder names from your Assets directory. As you can see, not all of them can be optimized. You’re forbidden (2) to optimize some directories, and some of them cannot be optimized at all. To find out why please read How it’s working page. Still in this case you can optimize iTween and PlayMaker.
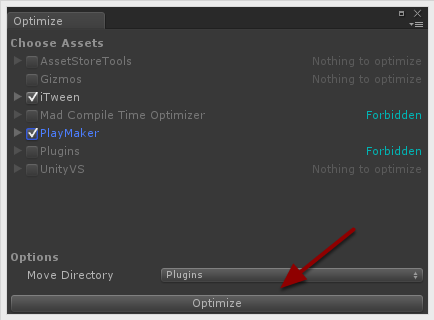
For this example I will optimize PlayMaker and iTween assets and I will leave Move Directory untouched (again you can learn about this one here).
Proceeding
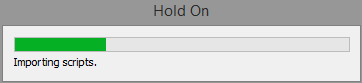
After clicking on Optimize button you will see a couple of progress windows like this:
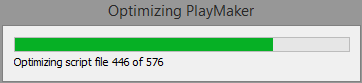
Then…
And finally…
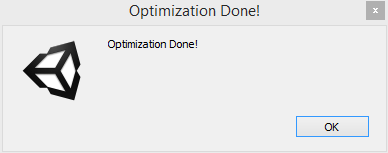
Now, after clicking the OK button Unity will try to recompile your whole project. If there is no build errors, this means that everything is fine and from now on your compilation times will be reduced even down to 50%! But…
If something goes wrong
Mad Compile Time Optimizer is trying to keep you as safe as possible, so if something goes very wrong during the optimization process, it will be immediately reverted to the previous state. Of course the reverting procedure can also fail (we need to go deeper!) so if this happens you have your backup, right? Fortunately during the testing session nothing like this happened, but never be too cautious if it is about your precious work.
You may encounter compile errors after optimization. This won’t be automatically reverted to give you the chance to find out what went wrong and to fix it.
If your assets are not compiled after the optimization process, this usually means that there’s a dependency to asset that:
- Has been not optimized
- Is written in another language
For the first case the simplest solution is to optimize the dependency too, but also think of breaking the dependency (especially if this is a circular dependency).
For the second case, well… You cannot do anything smart here. You have to resign from optimizing some of your assets (these which are using an asset written in another language).
Reverting
There are three scenarios in which you may want to revert the optimization procedure:
- You want to upgrade an asset to the newer version
- You optimized wrong asset by mistake
- Optimization has failed and you need to get to the previous state
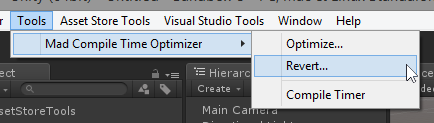
In order to revert your assets you first need to open the Revert window using Tools → Mad Compile Time Optimizer → Revert menu option.
The Revert window looks like this:
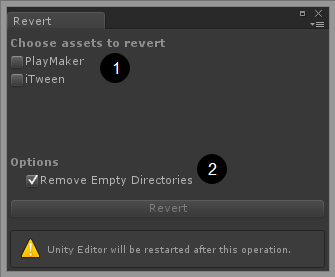
It includes the name of all assets that you’ve optimized (1).
And for revert options you can choose to Remove Empty Directories or not to (2).
I will try to revert previously optimized PlayMaker and iTween by selecting them…
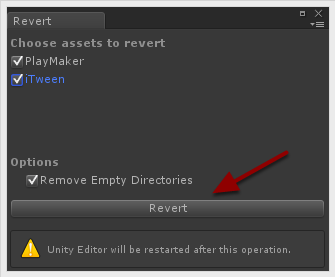
And clicking on the Revert button.
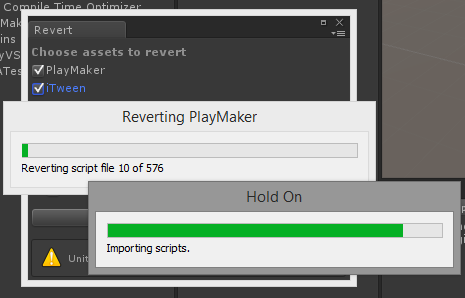
The reverting procedure usually takes a lot longer than optimizing so go get a stretch and get back to this message:
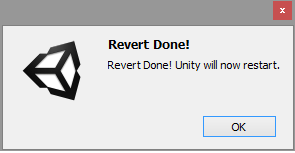
You don’t really have any choice here. After the restart everything should be back in place!